
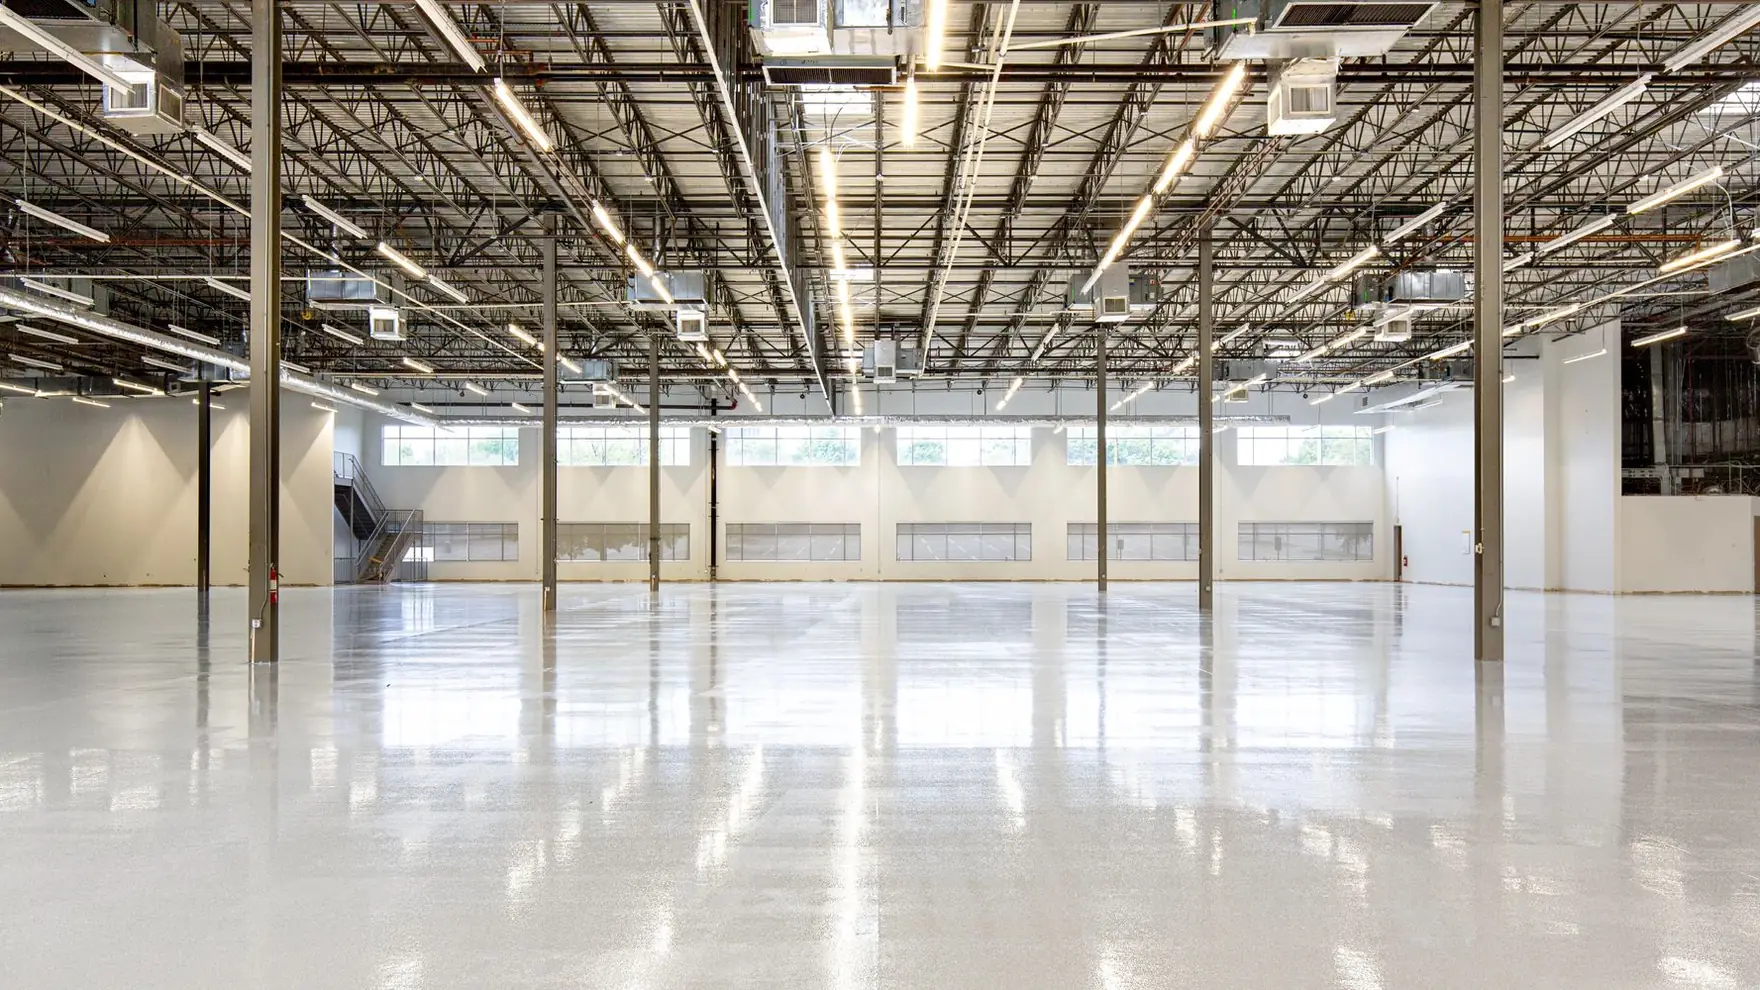
One day in, vehicles back in 24 hours
Polyaspartic Garage Floor Coating in Dallas-Fort Worth
Short answer
A polyaspartic garage floor coating is a two-layer system: a polyurea base coat that bonds to the ground slab, and a clear polyaspartic topcoat that takes the wear. Solid color polyurea and polyaspartic runs $5 to $6.50 per square foot installed in Dallas-Fort Worth. Most jobs finish in a single day.
The coating that goes down in a day, holds its color in Texas sun, and does not yellow like epoxy.
Overview
A polyaspartic garage floor coating is a two-layer system: a polyurea base coat that bonds to the ground slab, and a clear polyaspartic topcoat that takes the wear. Both are fast-cure aliphatic chemistries, which is why the whole floor goes down in one day and why it does not amber in sunlight the way epoxy does.
This is the system we recommend for most Dallas-Fort Worth garages. It cures in heat and in cold, it stays slightly flexible over an expansive clay slab, and it takes vehicles back about 24 hours after the topcoat. Professional Garage Concepts has been installing floors and doors in DFW since 2001 and holds 532 Google reviews at 4.8 stars.
It is not the right answer for everything, and this page says where it is not. Call (817) 381-6173 or come look at real samples at our Keller or Grand Prairie showroom.
What polyurea and polyaspartic actually are
Polyaspartic is a type of polyurea. Both are formed by reacting an isocyanate with an amine, and the difference is the amine. Polyaspartic uses a slower-reacting aspartic ester, which buys enough working time to actually spread it on a floor. Straight polyurea cures in seconds and is sprayed. Polyaspartic cures in minutes to hours and is squeegeed and rolled.
Both are aliphatic, which is the technical reason they hold color. Aromatic resins, including standard epoxy, break down under ultraviolet light and turn yellow. Aliphatic resins do not.
In a garage we use them as a pair. The polyurea base coat has deeper penetration into the ground slab and better adhesion. The polyaspartic topcoat has better clarity, UV stability and abrasion resistance. Running a single product for both jobs gives up something in one direction or the other.
- Polyurea base coat: penetrates the open profile, bonds hard, carries the flake broadcast.
- Vinyl flake layer: color, texture and slip resistance.
- Polyaspartic topcoat: UV stability, chemical resistance, abrasion resistance, gloss or satin.
- Total dry film in a residential system is typically 20 to 30 mils depending on flake size and coverage.
Cure speed and the one-day install
The recoat window is what makes a one-day floor possible. A polyurea base coat is ready for the next layer in one to two hours instead of overnight. That means grind, repair, base coat, broadcast, scrape and topcoat all fit inside a single working day on a standard two-car garage.
The practical schedule looks like this. Crew arrives in the morning and grinds. Repairs go in and cure while edges are detailed. Base coat and flake go down before lunch on most jobs. Scrape and vacuum in the early afternoon. Topcoat late afternoon. You can walk on it that evening, put light items back the next morning, and park on it 24 hours after the topcoat.
Compare that to epoxy. Epoxy needs 24 hours or more between coats, 24 to 72 hours before foot traffic, and 5 to 7 days before you park a vehicle on it. On a two-car garage that is most of a week with your entire garage sitting in the driveway.
UV stability: why epoxy floors turn yellow and this one does not
Every DFW garage has a strip of floor just inside the door that gets direct afternoon sun whenever the door is open. On an epoxy floor with a clear epoxy topcoat, that strip ambers. Give it two or three Texas summers and you have a visible yellow band across the front of the floor while the back stays the color you picked.
The cause is chemical, not a defect. Aromatic epoxy resin has benzene rings in its backbone that absorb UV and break down. The reaction is called ambering and no epoxy topcoat is immune to it, including the ones sold as UV resistant.
A polyaspartic topcoat is aliphatic and does not have that problem. This is also why we put a polyaspartic topcoat over epoxy on jobs where an epoxy body coat is the right call. You get the epoxy build underneath and UV stability on the surface.
Temperature tolerance: it installs in a Texas August and a January cold snap
Epoxy has a fairly narrow install window. Below roughly 55 degrees it thickens, cures slowly and can fail to cross-link properly. Above roughly 90 degrees the pot life collapses. In an unconditioned DFW garage, that rules out a lot of the calendar.
Polyaspartic cures across a much wider band, from near freezing to well over 100 degrees of surface temperature. That matters twice a year here. In January and February we can coat an unheated garage that is sitting at 40 degrees. In July and August we can coat a slab reading over 100 degrees, working in smaller sections and adjusting the mix to manage pot life.
The honest caveat: heat shortens working time. On a 100-degree slab a polyaspartic mix that normally gives 30 minutes may give 15. That is a crew skill issue, and it is why we schedule hot-weather pours in smaller batches with more hands on the floor rather than pushing a single batch across a whole bay.
Abrasion, chemical and impact resistance
A garage floor in DFW gets hot tires, dropped tools, jack stands, road salt tracked in from the rare ice event, spilled gas, brake cleaner, battery acid and oil. A polyaspartic topcoat handles all of it better than a clear epoxy of the same thickness.
Abrasion is where the gap is widest. Polyaspartic topcoats hold up notably better under taber abrasion testing than standard epoxy topcoats, which in real terms means fewer visible scuffs from a floor jack rolling across the same path for years.
Impact is the other one. Because polyaspartic has higher elongation, a dropped socket bounces instead of chipping the film. Rigid epoxy is harder but more brittle, and a sharp impact on a thick epoxy floor takes a chip out.
- Hot tire pickup: no lifting on a properly ground and primed slab, and the film does not soften at tire temperatures.
- Petroleum products: gas, oil, brake fluid and transmission fluid wipe up if you get to them within a reasonable time.
- Road salt and ice melt: no etching, no staining.
- Battery acid and most household chemicals: resisted, not indefinitely, but wiped up they leave nothing.
- Abrasion: better than clear epoxy at equal film thickness.
- Impact: flexes instead of chipping.
Flexibility over an expansive clay slab
Blackland Prairie clay is one of the most active soils in Texas. It swells when it takes on water and shrinks when it dries out, and a slab sitting on it moves seasonally. In a wet spring and a dry August you can watch hairline cracks in a driveway open and close.
A rigid coating over a slab like that telegraphs the movement. Epoxy is hard and does not stretch, so a slab crack that opens under it reflects straight through the film. Polyaspartic has meaningfully higher elongation and absorbs small movement without cracking.
This is not magic. No coating bridges a structurally active crack, and any contractor who tells you otherwise is selling. What a flexible topcoat does is handle the hairline seasonal movement that a DFW slab produces every year, which is the difference between a floor that stays clean-looking for fifteen years and one that starts showing cracks in year three.
The honest trade-offs
Polyaspartic is the better garage coating for most DFW homes. It is not better at everything, and here is where it loses.
First, it is not a DIY product. Pot life on a polyaspartic mix runs roughly 20 to 40 minutes at room temperature and much less on a hot slab. Once it is mixed you are committed, and there is no stopping to reposition a fan or answer the door. Epoxy kits from a big box store give you two hours of working time for a reason. If you are pricing a weekend project, buy epoxy, not polyaspartic.
Second, material cost is higher per gallon. Polyaspartic goes down thin, so material use is lower than the price difference suggests, but the finished number still runs above a basic epoxy job.
Third, it is not a moisture vapor barrier. If your slab tests high for moisture vapor emission, you need a 100 percent solids epoxy vapor barrier primer underneath. Polyaspartic on a wet slab without that primer will fail.
Fourth, film build. Polyaspartic goes down thin by design. If you need serious thickness to level a rough or previously damaged slab, an epoxy body coat under a polyaspartic topcoat is the correct build.
Polyaspartic vs epoxy: the side by side
Both chemistries have a place. This is the comparison we walk customers through in the showroom before they choose.
- Full cure to vehicle traffic. Polyaspartic: about 24 hours. Epoxy: 5 to 7 days.
- Install time on a two-car garage. Polyaspartic: one day. Epoxy: two to three days on site plus cure.
- UV stability. Polyaspartic: aliphatic, holds color. Epoxy: aromatic, ambers in sunlight.
- Install temperature range. Polyaspartic: near freezing to over 100 degrees. Epoxy: roughly 55 to 90 degrees.
- Working time once mixed. Polyaspartic: 20 to 40 minutes, less when hot. Epoxy: 45 minutes to 2 hours.
- Flexibility. Polyaspartic: higher elongation, rides seasonal slab movement. Epoxy: rigid, telegraphs cracks.
- Abrasion resistance. Polyaspartic: better. Epoxy: good but scuffs sooner.
- Moisture vapor barrier capability. Polyaspartic: no. Epoxy: yes, at 100 percent solids in a rated primer.
- Film build per coat. Polyaspartic: thin. Epoxy: thick, better for leveling a rough slab.
- Installed cost. Polyaspartic: $6 to $8 per square foot in a flake system. Epoxy: $5 to $6.50 per square foot solid color.
- DIY friendly. Polyaspartic: no. Epoxy: yes, with realistic expectations about prep.
How it works
How we install a polyurea and polyaspartic floor
- STEP 01
1. Inspect the slab and test for moisture
We check the slab for spalling, active cracks, oil saturation, previous coatings and joint condition. Where the slab is on grade with no known vapor retarder, or where we see any surface darkening, we run a calcium chloride or in-slab relative humidity test. That result decides whether an epoxy vapor barrier primer goes under the polyurea.
- STEP 02
2. Diamond grind to a CSP 2 to 3 profile
Every square inch gets ground with diamond tooling on a dust-shrouded planetary grinder, then edges and corners are hand-ground to match. This opens the concrete so the polyurea can key into it mechanically. We do not acid etch. Acid leaves soft laitance and residual salts and is the leading cause of hot tire pickup in this market.
- STEP 03
3. Repair cracks, spalls and joints
Cracks are chased open, blown out and filled. Dormant cracks get a rigid polymer that grinds flush. Active cracks get a flexible polyurea joint filler that can move. Spalls, pop-outs and old anchor holes get a fast-set repair mortar. On post-tension slabs we scan before any cutting rather than assuming where the tendons run.
- STEP 04
4. Vacuum and mask
The floor is HEPA vacuumed, then vacuumed again after hand work, because grinding dust sitting in a crack becomes a bond breaker. Walls, jambs and thresholds get masked. We set the front termination line at the door seal so the edge is straight and does not chip when the door closes on it.
- STEP 05
5. Polyurea base coat
The pigmented polyurea base is mixed in controlled batches and pulled across the slab with a notched squeegee, then back-rolled for even film. On a hot slab we cut batch size and add hands so nothing kicks in the bucket. This coat is both the primer and the color, and it is what the flake lands in.
- STEP 06
6. Broadcast flake into wet base
Flake is hand-broadcast into the wet polyurea, thrown upward so it falls flat rather than landing on edge. Full broadcast means we keep throwing until the floor rejects any more chip and no base color shows. Partial broadcast is a lighter, controlled coverage that leaves base color visible. This is where the floor gets its texture.
- STEP 07
7. Scrape and vacuum
After the base sets, usually one to two hours, the whole floor is scraped to knock down chips standing on edge and to level the flake profile. Then the loose chip is vacuumed up and reclaimed. On 1/4 inch flake this is heavier work. Skipping it leaves a rough floor and a cloudy topcoat.
- STEP 08
8. Clear polyaspartic topcoat
The clear polyaspartic goes down over the locked flake in a controlled, even pull. Gloss or satin is your choice, and satin hides dust and tire marks better. If the floor needs added traction we blend polymer or aluminum oxide grit into this coat at a texture level you have felt on a sample first.
- STEP 09
9. Cure, walkthrough, return to service
Light foot traffic is fine in about 4 to 6 hours. Vehicles come back at about 24 hours. We walk the finished floor with you, point out the joint treatment and terminations, and hand over care instructions. Keep rubber-backed mats off the floor for the first week so the topcoat can finish gassing off.
Straight pricing
Polyaspartic garage floor pricing in DFW
These are installed per square foot ranges for a residential DFW garage with a slab in reasonable condition. Removal of a failed existing coating, a moisture vapor barrier primer, or heavy spall repair adds to the number, and we itemize those on the written quote before we start.
Solid color polyurea and polyaspartic
$5 to $6.50per sq ft installed
Clean single-color floors, storage garages, and slabs already in good shape.
- Full diamond grind to CSP 2 to 3
- Crack and spall repair
- Pigmented polyurea base coat
- Clear polyaspartic topcoat
- One-day install on most two-car garages
Full flake with polyaspartic topcoat
$6 to $10per sq ft installed
Most DFW residential garages. Best balance of appearance, traction and durability.
- Full diamond grind and joint detailing
- Crack, spall and pop-out repair
- Polyurea base coat
- Flake broadcast to refusal in your blend
- Scrape, vacuum and reclaim
- Clear polyaspartic topcoat, gloss or satin
Moisture vapor barrier primer
$1 to $2per sq ft add-on
Slabs that test high for moisture vapor emission, usually older on-grade slabs with no vapor retarder underneath.
- Calcium chloride or in-slab RH testing
- 100 percent solids epoxy vapor barrier primer
- Additional cure day added to the schedule
Typical two-car garage
$2,200 to $4,500installed
A 400 to 550 square foot two-car garage coated in a full flake polyaspartic system.
- All prep, repair, base, flake and topcoat
- Written quote before work begins
- Vehicles back in the garage in about 24 hours
Answers
Frequently asked questions
Still stuck? Call (817) 381-6173 and talk to someone who does this every day.
What is a polyaspartic garage floor coating?
A polyaspartic garage floor coating is a fast-curing aliphatic polyurea system, normally installed as a pigmented polyurea base coat with vinyl flake broadcast into it and a clear polyaspartic topcoat over the top. It goes down in one day, resists UV yellowing, and takes vehicles back about 24 hours later.
Is polyaspartic better than epoxy for a garage floor?
For most Dallas-Fort Worth garages, yes. Polyaspartic cures in hours instead of days, holds its color in sunlight where epoxy yellows, installs in cold and hot weather, and flexes with a slab that moves on clay soil. Epoxy still wins on film build and is the only chemistry that makes a true moisture vapor barrier primer.
How long does a polyaspartic garage floor take to cure?
A polyaspartic topcoat is walkable in roughly 4 to 6 hours and ready for vehicle traffic in about 24 hours. Full chemical cure continues for several days after that. Keep rubber-backed mats and rubber tire cradles off the floor for the first week so the film can finish curing.
Does a polyaspartic floor turn yellow like epoxy?
No, polyaspartic does not yellow, because it is an aliphatic resin whose chemical backbone does not break down under ultraviolet light. Epoxy is aromatic and ambers to a yellow cast wherever direct sun reaches it, which in a DFW garage is usually the strip just inside the door. That yellowing is chemistry, not a product defect.
Can polyaspartic be installed in cold weather?
Yes, polyaspartic cures across a wide temperature range, from near freezing up past 100 degrees of surface temperature, so we install in unheated DFW garages in January and on 100-degree slabs in August. Epoxy needs roughly 55 to 90 degrees and slows badly or fails outside that window.
Can I install a polyaspartic coating myself?
We do not recommend it. Polyaspartic has a pot life of roughly 20 to 40 minutes at room temperature and considerably less on a hot slab, so there is no room to stop, adjust, or fix a mistake once it is mixed. The bigger problem is prep: without a diamond grinder and a CSP 2 to 3 profile, any coating will fail.
How long will a polyaspartic garage floor last in DFW?
A properly ground and installed polyaspartic floor should serve 15 to 20 years in a residential DFW garage. The topcoat carries the wear, so when it eventually dulls after many years, it can be scuff-sanded and recoated rather than the whole system being removed and replaced.
Is polyaspartic slippery when wet?
A smooth clear gloss topcoat with no additive is slick when wet. A full flake broadcast builds real surface texture that improves traction, and we can add polymer or aluminum oxide grit to the topcoat for more grip. We let you feel the texture options on a sample before choosing, because too much grit is hard to clean.
Does polyaspartic work on a slab with moisture problems?
Not on its own. Polyaspartic is not a vapor barrier, so a slab with high moisture vapor emission needs a 100 percent solids epoxy vapor barrier primer underneath first. We test the slab with a calcium chloride kit or an in-slab relative humidity probe before deciding, rather than guessing and hoping.
How much does a polyaspartic garage floor cost in Fort Worth or Dallas?
Polyaspartic garage floors in DFW run $5 to $8 per square foot installed, so a typical two-car garage lands between $2,200 and $4,500. A solid color system sits at the low end and a full flake system with a polyaspartic topcoat at the high end. Moisture barrier primer adds $1 to $2 per square foot.
By city
Polyaspartic Coatings near you
Related services
Garage Floor Coatings
We grind the slab down to clean concrete, fix what is broken, and put down a coating system matched to your floor and how you use it. Two DFW showrooms where you can hold the real samples.
Learn moreEpoxy Floor Coatings
We grind every slab to bare, profiled concrete, test for moisture vapor, and prime accordingly. Then we tell you honestly whether epoxy or polyaspartic is the better spend on your floor.
Learn moreFlake Floor System
Vinyl flake broadcast to refusal into a polyurea base, scraped flat, and locked under a clear polyaspartic topcoat. Most two-car garages done in a single day.
Learn morePolished Concrete
We grind your existing slab through a diamond grit sequence until the concrete itself is the finished surface. Densified, joint filled, stain guarded, and priced by the square foot before you commit.
Learn moreComplete Garage Transformation
We do the floor, the storage, the lighting, the door, the opener and the driveway gate on one schedule with one company standing behind the finished garage. 532 Google reviews at 4.8 stars.
Learn moreReady to get polyaspartic coatings handled?
Call (817) 381-6173 or send the form. We answer quote requests the same business day, and we have been doing this across DFW since 2001.